admin
-
Content
-14 -
Joined
-
Last visited
-
Days Won
1 -
Feedback
0%
Everything posted by admin
-
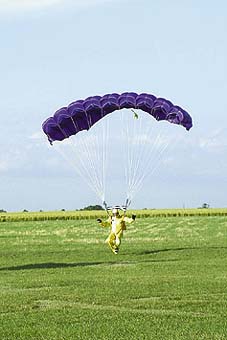
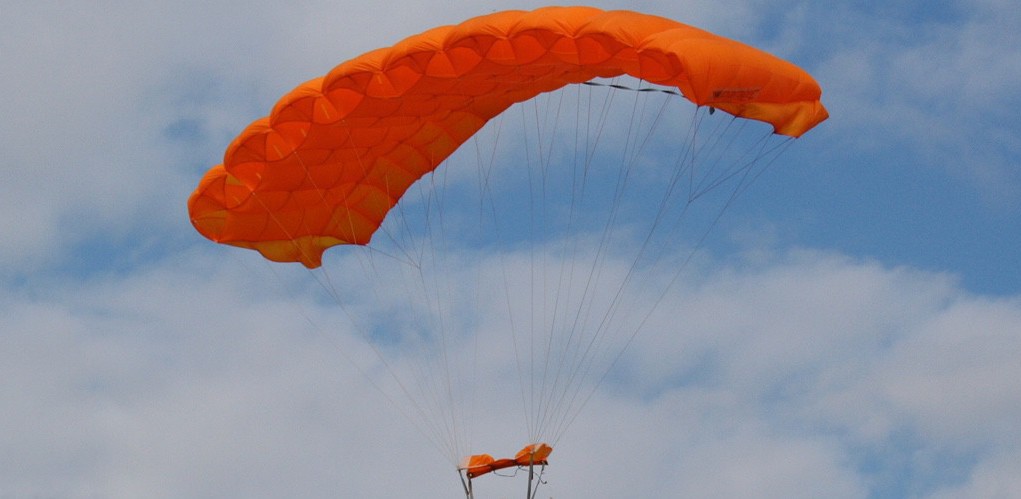
Wings Level I've been thinking for some time about a final bit of advice, some catchy canopy control phrase, to say to students when they are about to go up. This morning it finally came to me: Wings Level When you're close to the ground keep your wings level This covers a lot of ground. Most of the injuries I can think of violated this principle. You can survive a lot of horizontal embarrassment by pulling your breakables in and doing a PLF. The vertical stuff is what hurts, and that mostly comes when your canopy is not level. There are three common situations: turbulence, SLAMMs and flaring. TurbulenceOne feeling of turbulence is the canopy suddenly rocking/tilting right or left. If it tilts to the right our untrained reaction is to raise our left hand to catch our balance, and lower our right hand to catch ourselves. This causes a hard right turn and slams us into the ground. Under canopy we must retrain ourselves to think "Wings Level!" and counter the tilt with our toggles. Tilt to the right: Think "Wings Level!" Left toggle down / Right toggle up Canopy overhead Back to neutral or continue flaring or ...If we're flaring when this tilt to the right happens another part of our reaction is to raise our left leg up and reach for the ground with our right leg. This is an injury prone position to hit the ground in. Our ground based habits are strong, and it takes some effort and practice to use only canopy control, our hands and toggles, while we're still in the air. Active control is the idea, you fly the canopy, don't let it fly you. SLAMMs - Stupid Last Minute Moves SLAMs - Stupid Low Altitude ManeuversI got this term from Rick Horn. It refers to last minute panic turns. These last minute turns happen when people Get too low before facing into the wind (Get-home-itis) Try to avoid last minute obstacles Chase the windsockLarge scale canopy strategy - thinking ahead - is the approach to focus on here. The idea is to get up wind of target, and then fly a landing pattern. It starts before you even put your gear on. Get a flight planner (an aerial photo of the drop zone). Go outside and look at the ground winds. Draw both left and right hand landing patterns for these winds. Pick one or the other based on obstacles and other factors. If the winds are still the same when you jump, this is the one you will try to use. The actual jump often happens differently than the plan.The point here is to learn a process, a way of thinking, an approach, that keeps you out of the awkward situations and last minute moves in the first place. Now draw the jump run (what have previous loads been doing?). Mark where the first and last groups got out (watch the actual jump or ask people who have just landed where they got out). If the uppers are strong mark both exit and opening point. Now put yourself in the shoes of someone who has just opened. I'm here, the windsock is still the same, so my two possible landing patterns are there, what do I do between now and later to get from here to the onramp, the beginning, of the landing pattern I want to use? Should I run? Should I hold? Should I crab? If I keep facing the way I'm facing now, where will I land? There's an obstacle, a lake, some trees, a power line between here and there. Can I fly over it? Should I fly over it? What if the wind changes and I land on it? Is that a disaster, or just inconvenient? If I can't make it back, where's a clear spot that I can land in? Which way is the wind blowing and therefore what landing pattern should I fly? Can I make it back but the wind has changed, the windsock is moving? What's my new landing pattern and how do I get from here to the onramp? Is the windsock going in circles? Are the jumpers ahead of me landing in all directions? Should I move my landing pattern over a bit and land outside the swarm of clueless sunday drivers? Am I too long but the wind is at my back so I can pull a few inches on the toggles and come down slower and ride the wind back? Am I down wind and don't want to blow away so I should face the wind and pull a few inches on the front risers and get down quicker? Have I by some miracle of forethought made it to the onramp of my chosen landing pattern? How do I handle it now? As a student they told me the 1,000 - 600 - 300 ft technique, but most experienced jumpers guage the pattern by angles and rates. On a light wind day I fly the down wind part at a certain distance from the target so the target is at the correct angle down from me. I fly down wind until the target is maybe 45 degrees behind me and turn cross wind. Once again the target is at the correct angle down from me. At the magic moment I turn on final. If I'm too low in the pattern I can cut across corners and shorten my flight path. If I'm too high I can go into brakes, come down slower but steeper, and bleed off unwanted altitude. If I've misjudged the whole thing, I remember that it's better to land out and walk back than land in and get carried away on a stretcher, so I do my turns onto cross wind and final at a nice safe altitude, and congratulate myself on what good judgement I have. It is hard to stress enough the value of persistently trying to fly your canopy on a predetermined course (get up wind of target, and then fly a landing pattern) rather than zooming aimlessly around and then landing. The value is that trying to make your canopy go where you plan to go in all the different conditions teaches you how to make your canopy go where you *want* it to go in all the different conditions. Canopy control is not simple and it's not easy. There are zillions of variables and circumstances, and on any given jump you don't even know what they all are. If you put genuine effort into this for 200 - 300 jumps you will start to sort out the patterns and learn what you can and can't do. Knowing what you can and can't do is especially helpful in staying out of the SLAMMs when you're landing out. Sometimes, even when you're thinking ahead, you have to make a turn close to the ground. There is a way to do it and still keep your wings level and that is braked (flat) turns. The idea is to first go into the right amount of brakes, half brakes, deep brakes, and then use one toggle slightly up or the other slightly down, or both, to turn. This gives you a change of heading with only a slight bank. If you were really at 50 or 75 ft when you did this, you just have to land that way (PLF). Practice braked turns up high until they feel really comfortable so that when you need one close to the ground it will be easy to do. Letting up from deep brakes near the ground is tricky because you drop quite a ways before your canopy resumes its normal glide path. At some point it's worth spending maybe 10 or 20 jumps edging gradually into this to find out what you can do. It's different with each canopy. Turn onto final in part brakes. At say 150 ft let up slowly and see what happens. Push gradually (that's *gradually*) into deeper brakes, lower altitudes, faster let ups. After while you will get a sense of what you can do. If you keep pushing you will eventually scare yourself and then you will know where the boundary is. FlaringAnother place where you can get wings unlevel is flaring flare too high and then let up flare too high and stall flare unevenlyThere is an old accuracy technique called double clutching, where you let the toggles up 6 or 8 inches (not a foot!), let the canopy fly for a moment, then toggles back down maybe 4 or 6 inches. If you flare too high and just hold it, you will land hard but probably get away with it by doing a PLF. If you flare too high and then let up, you will land much harder and may not get away with it. Even big, slow student canopies can slam you in if you do it wrong enough. If you've been practicing double clutching up high where it doesn't hurt, you can impress your friends and coaches with your great canopy control. If you flare unevenly, one hand lower than the other, you get the canopy tilting one way or the other as in turbulence. Tilt to the right: Think "Wings Level!" Left toggle down / Right toggle up Canopy overhead Back to neutral or continue flaring or ...Some people look at their hands or bring their hands together at the bottom of the flare in order to flare evenly. Those can be good short term techniques, but in the long run it is better to focus on what the canopy is doing. If the canopy tilts or banks I want to counter with one toggle down and the other up regardless of whether it was turbulence or an uneven flare that caused it. The flare works in two stages. The top quarter or top third stops your downward speed and levels you out (for a short while). The bottom part slows your forward speed. This means that in high winds, where you're barely penetrating and your horizontal speed (relative to the ground) is already stopped, you just do the top part of the flare, and you do it much closer to the ground. If you do a full flare in high winds you get picked up and thrown backwards pretty hard. This will impress your friends and coaches but not the way you want. The hard part of flaring in no winds is guessing when to start. You start the top part higher. This levels you out, changes your visual picture, and gives you immediate feedback on how good your guess was. If your guess was good, then do the bottom part and land. If you started too high, then pause for a moment, and then do the bottom part. Part of the trick is where you look. If you look at the horizon then you can't see the ground well enough in your peripheral vision and you can't tell when. If you look straight down under your feet all you see is ground rushing by and you can't tell when that way either. Up higher I'm looking more out ahead. As I'm starting the flare I look ahead of where my feet are going to touch down just like you do on an uneven mountain trail. As my feet are just about to touch down I look more downward just like you do at a rough spot on that mountain trail. What I'm looking for is any rock or uneven spot where I might twist an ankle. If your flare motions are too slow you don't get the effect, but if you yank the toggles down you just distort the canopy and airflow and that doesn't work either. If you back off a little from the yank to a definite, strong motion, it works pretty well. The final bit of flaring technique is to practice PLFs until they are comfortable and natural, because in spite of all this great technique there is nothing like a PLF to save your body and your pride when you misjudge it. A point of terminology is that panic turns are not hook turns. Hook turns, canopy swooping, turf surfing, pond swooping are a form of canopy flying that you can learn about later if you want. If you are interested, then go to some of the larger drop zones in Florida or California or some place and learn from the people who are already good at it. Like any envelope pushing around high speed dirt, it's pretty easy to kill yourself if you fuck up, so it's smarter to build on the experience of others. Meanwhile, in your day to day jumping, keep your wings level when you're close to the ground. Sometimes, in spite of our best efforts, our best training, our best intentions, we have a brain fart and do something stupid. Here's one that ranks right up there with the best of them. One year at Quincy it was hot, it was humid, it was late in the week, I was tired, I didn't want to land out and wait for the pickup, and I had to cross the loading area to get back. The loading area is a pretty wide section of concrete filled with Otters and Casas picking up jumpers, getting fuel, spinning props, planes taxiing in and out, tents full of waiting jumpers. I had seen it in freefall, I had been eyeing the situation from the time I opened. Can I do it? I'm not sure. It's gonna be close. I'll just face that way and decide when I get closer. Can I do it? I'm not sure. Just barely. Maybe. No, I should turn around and land over here. I'm going for it. Concrete. Staying aloft by sheer terror. The slightest gust and ... Shit. Props. I could land on the tail. Massive social humiliation and broken bones but I'd miss the props. Shit. The tent. I'm going to land on the tent. Shit. I'm over. I land. I gather up my chute and walk back thinking that was the stupidest thing I've ever done. To this day I can still hardly believe that I did that. It's not just students who show bad judgement under canopy. Bryan Burke has said that minds are like parachutes, sometimes they just don't work. That means that we must develop the best set of habits and background experience that we can, so that when our minds don't work we might still accidentally do the right thing. Keep your wings level when you're close to the ground. Skr
-
There's only so much real estate on or around your head for camera gear. The average Joe/Jane tandem camera person will fly a helmet with a 35 mm SLR and a miniDV video camera. Each camera can be mounted any number of ways, but the sum total of their weights is still enough to make your neck tired. The more advanced camera flyers involved in record jumps, night jumps, etc. are attaching more equipment in addition to the usual video and still cameras, such as lights and battery packs. Suddenly, the weight of the helmet goes from 5 or 6 pounds to 15 or 20 pounds. Aside from all the weight issues, there are the dozens of stories of snag incidents. The more junk you bolt to your melon, the more your chances increase for a line snag. It's pretty cool to see an expert camera flyer with a finely configured helmet, but it's still scary to see the number of potential snag hazards and the amount weight balanced on that camera flyer's neck. Enter the "lipstick" or "bullet" camera. The bullet camera is simply the imaging sensor of a standard video camera mounted inside a groovy little metal tube. It has a lens at one end and a cable at the other. Most of the models available are only 50 to 70 mm in length and roughly the diameter of a nickel. Nowadays, the picture quality is basically equivalent to any miniDV consumer camcorder on the market. Some models include the ability to change lenses, filters, and mounting hardware. First, a word on resolution and media (as in, recording media: tapes, DVD's, memory cards, etc.). We won't go into the bits and bytes or the exact specifics, just the general terms and numbers. (If you're a video expert, forgive the simplicity or lack of depth.) The standard format for video storage on today's small camcorders is "miniDV." The newer video recording technologies in camcorders are DVD disks and "microMV" tapes. DVD is great quality, but the jury is still out on whether a DVD camcorder will hold up well in freefall. The microMV tapes are tiny, to say the least, but microMV uses video compression to allow it to store an hour of video on a dinky little tape. The compression in microMV compromises the quality of the picture. The quality of microMV lies somewhere between miniDV and VHS. The miniDV standard stores frames of video at a resolution of 720 pixels by 480 lines. It, too, uses compression to store video, but doesn't sacrifice as much quality as microMV. miniDV is still a great choice overall for skydiving video. It's small and it provides great video quality. Television in the US and some other countries is based on a standard called, "NTSC." NTSC defines a television screen's resolution to have 525 lines from top to bottom (the number of pixels across isn't really an issue here). The closer your camera gets to saving 525 lines of resolution, the more your video will look like a professional or "broadcast" quality picture on an NTSC television. For more details on the standards that define different video formats, do some searching on Google.com. In order to replace your miniDV camcorder, you're going to want a bullet camera that at least matches the resolution and picture quality of your miniDV camera. There are several different resolutions available in bullet cameras. As of the writing of this article, 380 lines and 480 lines are typical. 380-line cameras contain 20% fewer lines of resolution than 480-line cameras. If the picture quality isn't that important to you, you might be interested in a 380-line model. This would be equivalent to a VHS, microMV, or maybe even a Hi8 recording. The ideal camera for the best quality is a camera capable of 480 lines of resolution (matching miniDV). The size of the little image sensor chip in the bullet camera also makes a difference in the clarity of the picture. Many lower resolution cameras use a quarter-inch chip. The better quality 480-line cameras use Sony's new third-inch chip, which is also happens to be capable of very low light and infrared (or "night vision") imaging. The bigger the image sensor, the more accurately it can differentiate between pixels in the picture that's coming through the lens. This equates to better contrast and color in the video. This is precisely why you see bigger lenses and imaging sections on professional cameras. A bigger imaging CCD is just like having more megapixels in the digital still camera world. There are a couple of tiny cameras available specifically for skydiving Ranging in price from $360 to $900 and up, each with their own selection of accessories. The "monkeyKamera," by monkeyKam, is based on Sony's ExView CCD chip and has an imaging resolution of 480 lines. It's the same chip technology found in late model Sony single-chip CCD camcorders. The monkeyKamera starts at $359, according to the web site. The other camera is the "SportsCam" from Mike Swain. The SportsCam is a "board" type mini camera that has a resolution of 380 lines of full color ("board camera" means that the circuitry and lens of the camera head are all mounted on a little circuit board in a little black box). The advertised price for the SportsCam is $899 and up. These tiny cameras weigh no more than 6 or 7 ounces and takes up very little space on your helmet. They add no noticeable weight in freefall. The camera "head" (the bullet or the little black box with the lens) provides a video signal to an RCA-type connector, which is connected to your camcorder's A/V input jack. An extension cable runs up from the camcorder to your helmet. The connector at the collar or base of the helmet allows the cable to break away in case your helmet is lost in action. Your camcorder is usually carried in a belly pouch and run in "VTR" or "VCR" mode. Camera kits typically include the hardware required to rig the camera head to most any helmet. Also included are a battery pack (batteries not included), connectors and cables, and even a pouch for your camcorder (check the manufacturer's web site for what is included in the base camera kit). Any "fanny" pack can be used for your camcorder, but check with the camera manufacturer for any custom built pouches they may offer. For instance, the "monkeyPak" from monkeyKam is a belly pouch that holds your camcorder, batteries, and switches for controlling the camcorder and bullet camera. The monkeyPak is specifically designed to make using your camcorder in a belly mount configuration easier. It gives easy access to the CamEye button and monkeyKamera power button, as well as a clear vinyl window that makes it easy to watch your camcorder's screen without having to remove it from the monkeyPak. The bullet camera requires its own power. Power is usually supplied by a battery pack. Most bullet camera battery packs use 8 AA batteries to provide 12 volts of power to the camera head. In tests, Duracell NiMH rechargeable batteries purchased at a local retail store were used to power the monkeyKamera and were found to last over 10 hours of continuous use! In an average skydive, the camera will probably only be turned on for a few minutes, so a fully charged pack of batteries should last for weeks and weeks, if not months. When flying a bullet camera, there's nothing new to learn, except for your procedures in the airplane. The CamEye is a great tool for controlling the camcorder without having to remove the camcorder from the belly pouch. An LED indicates the status of the camcorder (on, off, or recording). When you're waiting for the door to open, connect your helmet to the belly pouch cable, don the helmet, wake up your camcorder with the CamEye, turn on the bullet camera, wait for the door to open, then click the CamEye button to start recording and zip up your suit. If you wish, you can even rig the CamEye to the outside of your jumpsuit through a button hole (or grommet) OR you can even wear your belly pouch on the outside of your suit. In this author's humble opinion, it's wiser to wear the pouch on the inside of the suit. Less is more on the outside of your suit and around your rig's handles, when it comes to safety. Save your neck! Try a bullet camera and see how comfy freefall video can be. :) monkeyKam Web Site
-

-
-
-
-
-
-
Two 19-year-old men arrested in connection with the murder of skydiver Stephen Hilder have been released on police bail pending further inquiries. The men, understood to be Adrian Blair and David Mason, were taken into custody by Humberside Police on Wednesday. A force spokesman said both men, who were fellow cadets of Mr Hilder at the Royal Military College of Science, at Shrivenham, Wiltshire, have now been released from custody. Mr Hilder died on July 4 at Hibaldstow airfield, in North Lincolnshire when he fell 13,000ft to his death. Detective Superintendent Colin Andrews, who is leading the murder investigation, said: "We are in consultation with the Crown Prosecution Service and a file of evidence will be sent to them for consideration. "The investigation into Stephen's death does remain ongoing and officers are continuing inquiries. I'm still very keen to speak to people about Stephen's death and urge anyone who knows anything about the circumstances surrounding the events of Friday July 4 to contact me. "It is our belief that somebody out there knows exactly what happened to Stephen and that person must now come forward. I remain confident this case will be solved and the person or people responsible will be brought to justice." Mr Hilder, who was a veteran of dozens of parachute jumps, had been taking part in the National Championships of the British Collegiate Parachute Association when he died. He was part of the same team as Mr Blair and Mr Mason. Incidents Forum
-
New School Flight camps blend all the major disciplines into to one training session over a four day period. Freefly, Fundamental RW, Tunnel, and Canopy progression camps dedicated to producing a more complete skyjumper. The camp includes 20 videoed coach jumps at The Florida Skydiving Center, one hour of coached wind tunnel time, and 4 nights stay at the Best Western Hotel right across the street from Skyventure, Orlando. A free video is also included. "These camps are perfect for any level. We concentrate on getting better fast and having a lot of fun. We concentrate on flying every surface: belly, back sitfly, head down, and tracking. The camp is a really good way to improve any landing approach you do while working on the rest of the skyjumping game. I supply a one on one coaching atmosphere to make sure the student gets the most out of the camp, " says Medal Winning Head Coach Steven Blincoe. Skyventure has revamped their windtunnel to produce 150 mph wind speeds. Perfect for freeflying. The tunnel went through various other renovations to produce a smoother air colom. The cost of the camps are $2990 and require a deposit. Camps consistently fill up 6 weeks in advance. Feel free to contact Steven Blincoe with any questions, 530-412-2078, stevenblincoe@yahoo.com, or blincoe.org. Steven Blincoe has more than 3500 skydives and 150 hours of wind tunnel time. He has coached thousands of students world wide. He is the President and founder of The New School Flight University in Lake Wales Florida.
-
 Known for its consistently soft on heading openings; Not prone to spins like most elliptical; Very solid airfoil – stable and predictable; Flatter glide than most other elliptical parachutes in its range, giving it further reach; Known for its long dives on front risers, snappy turns and quick responses, with long flat swoops; Powerful flare without the need of radical turns to generate lift; Small pack volume and easy to pack; Available in sizes: 95, 105, 120, 135, 150, 170; Strung with vectran lines; Custom colours available;
 -
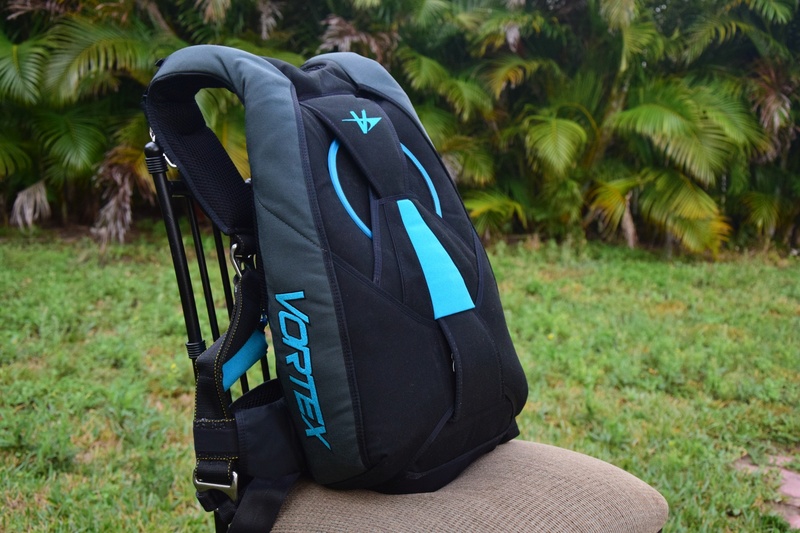 The Vortex Sports some unique design features, making it the most comfortable rig to jump. It is so comfortable you can hardly feel it in free fall. The back pad yoke is contoured to the shape of your body for extra comfort. The cut out in the back pad makes the harness fit snuggly. The splayed leg straps add extra comfort when under canopy and the harness is custom made to fit your size and measurements. The 3 stow mouth lock design on the main deployment bag and the balance of the line stows situated inboard from the edge of the bag helps prevent bag spin kill line pilot chute is a standard feature. The dive loops and the spiral flex housings in the rear of the risers also standard. Some of the other features include, the rises are Velcro free; superior pin protection flaps; option of Hacky / Freefly pff or pull; snag free closure loop holders; integrated bridle cover; strong External Spring Pilot chute for instant reserve extraction. Certified under TSO C23 (d); Unique, constantly evolving design features for safety, comfort and visual appeal; Back pad yoke is contoured to the shape of the body; Cut out in the back pad and splayed leg straps add comfort; The 3 stow mouth lock design on the main deployment bag and the balance of the line stows situated inboard from the edge of the bag helps prevent bag spin; The kill line pilot chute is a standard feature; The dive loops and the flex housings in the rear of the risers also standard; Superior pin protection flaps; Option of Hacky / Freefly puff or pull-out; Snag free closure loop holders; Integrated bridle cover; Strong External Spring Pilot chute for instant reserve extraction and especialy for Wingsuiting; True molar bag; Stainless steel #0 long shank grommets; Cypress, Vigil or Mars (M2) ready; Skyhook ready and availible as an Option RSL ready; 4 flap reserve closure; Integrated housing holders above cut away and reserve handle; Wrap around harness construction; Stainless Steel hardware; Option of fully articulated harness, hip ring harness or standard harness; Secure riser covers and magnetic riser covers; Hard release housings; Option of soft, hard or loop style reserve handle
 -
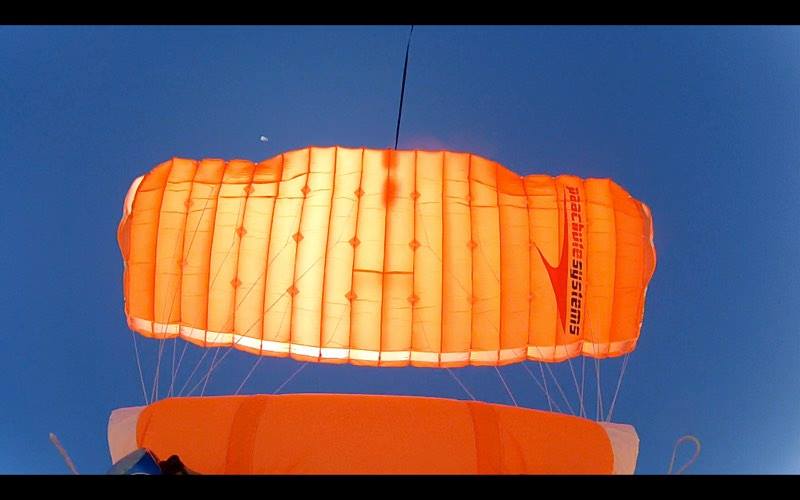
 During the past few years, the Speed 2000 has become the most trusted and valued reserve in Europe. The Speed 2000 is both JTSO C23d and FAA TSO C23d certified. Utilizing our innovative True Shape design technology and the most modern materials available, we have developed the smallest packing reserve on the market today. With stable, yet responsive flight performance and smooth landing characteristics, the Speed 2000 is the next generation reserve that today’s skydivers are looking for.
 -
 Strong reliable 7 cell reserve parachute. Small packing volume.
 -
 The ZP.Exe is one of the most consistent, reliable canopies around.
 -
 The FireBolt is a fully Ellipitical 9 cell hy-bred canopy with a 2.65 to 1 aspect ratio. It features 500 pound Spectra suspension line and a"Sharks Teeth" leading edge treatment.
 -
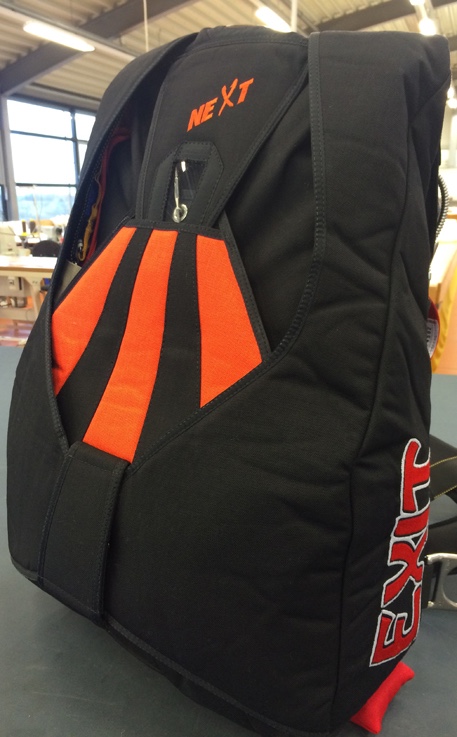 The Next Tandem rig is compatible with a variety of other Tandem Reserves and Tandem Mains, next to our own. We have always focused on compatability, to make it a open platform; return on investment by making it durable and upgradable; low operating costs by making spare parts like the drogue assembly exchangable by subparts. The Next Tandem rig has become the first choice for many full time tandem operations and single owners alike.
 -
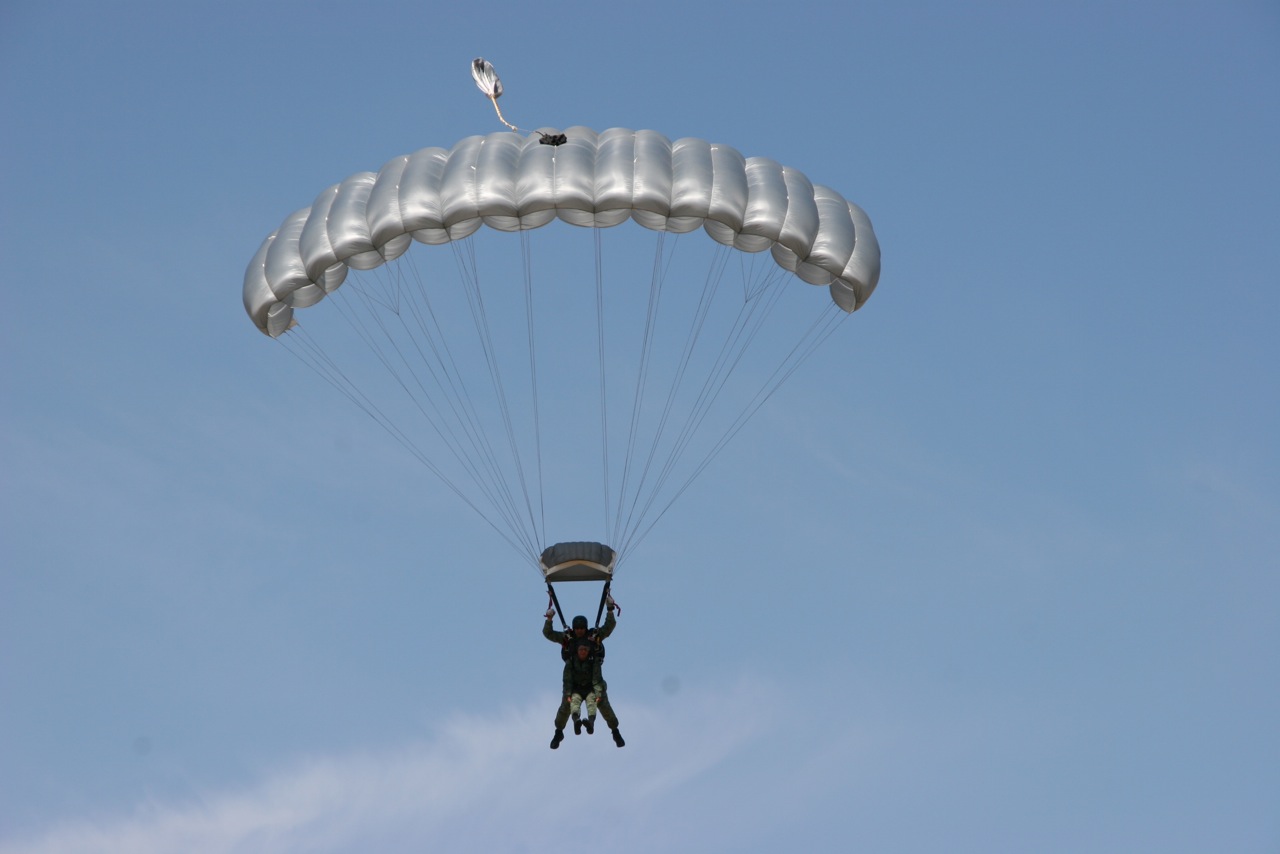 Our Twin tandem canopy was designed with the needs of passengers and tandem instructors in mind. This is evident in the Twin's high maximum suspended weight (MSW) and it's ability to flare and land with very little forward motion. This provides the tandem passenger a safe, soft landing and the instructor the knowledge, his system will perform as designed. Twin tandem canopies are THE first choice of drop-zones, tandem instructors and the military in Europe for their performance, quality, safety record, and value.
 -
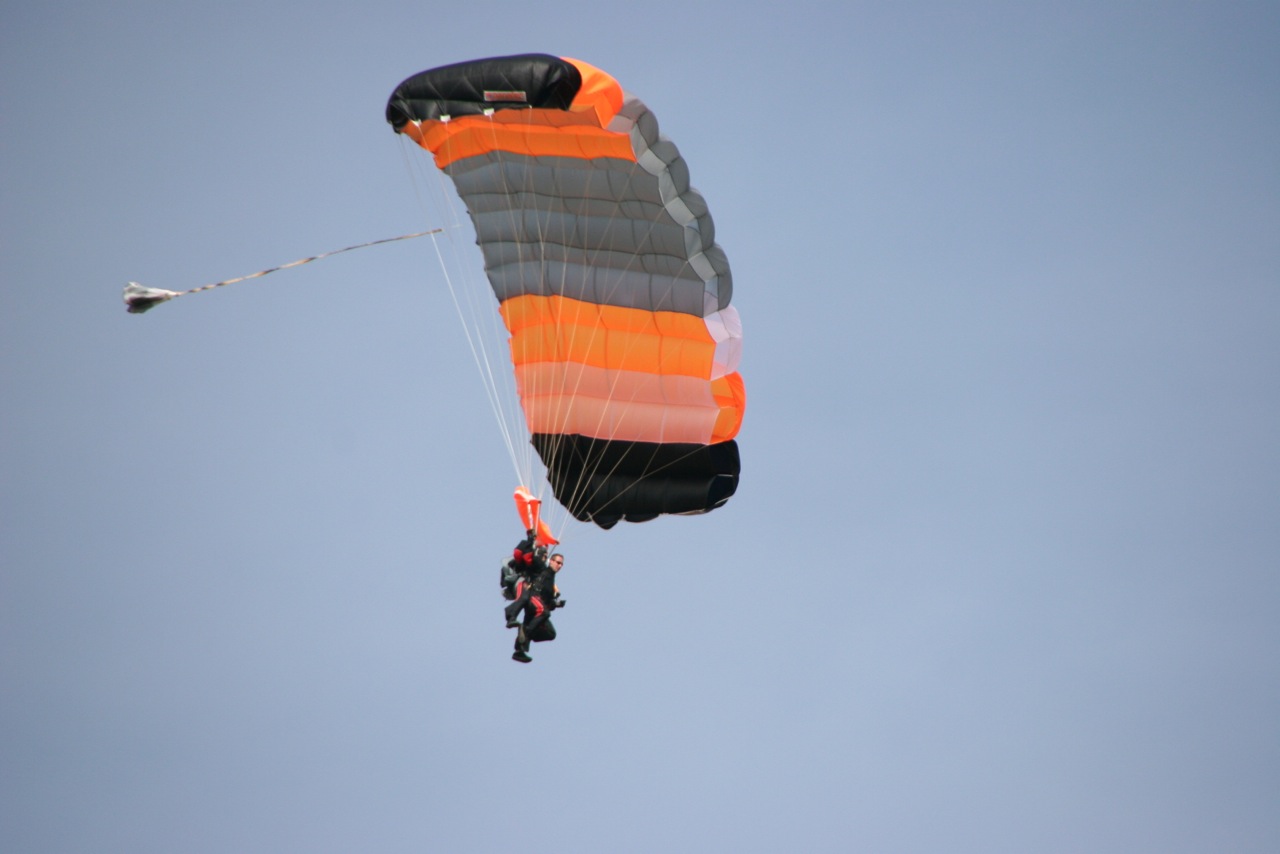
 The x-wing is a new kind of high performance canopy that was designed for all wind conditions. It offers a stable overall flight profile with an excellent glide ratio and extremely precise, responsive handling.
 -
 Attention Turf Surfers: load it up and let it soar!! With a very deep range of flare, the canopy swoops far, yet `settles’ into a toe-touch soft landing.
 -
 The new Faqtor leaves no wish unfulfilled, from smooth, on heading openings to mega swoops. The Faqtor is an excellent transition canopy for the experienced intermediate jumpers who have their sights set on the swoop pit.
 -
 Designed especially for the needs and capabilities of the beginning and intermediate jumper, the V-Tec is simple to handle and easy to land, yet fun to fly. With two available levels of performance, provided by the unique adjustable line configuration concept, it is an unbeatable investment.
 -
 With openings, flight profiles, and long, sweet flares unequaled in it’s class, the Super Seven delivers 9-cell fun at 7-cell pack volume and price. Our recommendation: try it today!
 -
 One of the most innovative student canopies on the market, the Balance offers exceptional flight and turn characteristics combined with extreme stability in deep brakes and a stall free airfoil design.